Classroom Equipment
Valdosta State University classrooms provide teaching and learning environments that allow users to share online and local computer content and connect various hardware. Although the technology and layout of classrooms may vary slightly throughout campus, each room is equipped with a presenter workstation that is outfitted with the following components:
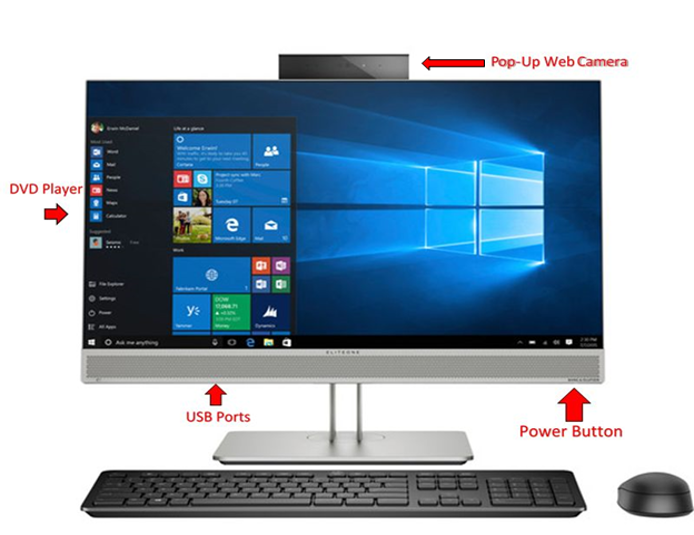
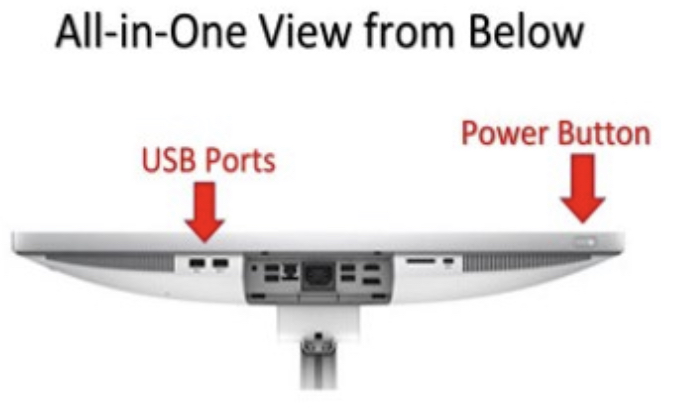
- a computer with a built-in camera or an attached camera (Note: Most classrooms now have all-in-one computers; however, some may still have a monitor and a separate CPU unit.)
- an A/V unit (audio/video) that is controlled through a hardware device or a software application
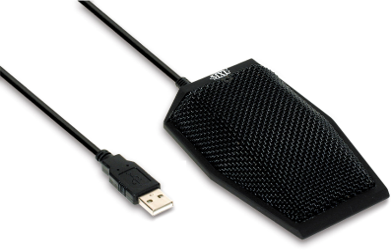
- a boundary microphone or podium microphone
- a projector system, including a drop-down projector screen; and
- a few classrooms may be equipped with a document camera and DVD player.
Students: View Best Practices & Tips for Using Classroom Technology
How to Use the Classroom Equipment
Two ways to login:
- The sc_instructor account (username and password posted on desk in each room); or
- Your active directory credentials (your VSU username and password) so you can access your own files and applications
Note: You will be prompted to install Microsoft Teams the first time you log in. This is a quick, one-time only installation per user. After the installation is complete, the Teams icon will be placed on the computer Desktop.
*Remember to log out of the computer when finished.
After turning on the computer (if necessary) and logging in, the installed A/V unit makes using the technology in each classroom easy. Although the type of A/V unit varies, they all serve the same function. With a push of a button, you can
- turn on/off the projector; raise/lower the projector screen
- switch between input devices (PC, laptop or document camera when available)
- adjust or mute audio
- and select a privacy mode for when you do not wish to display the onscreen information to your audience.
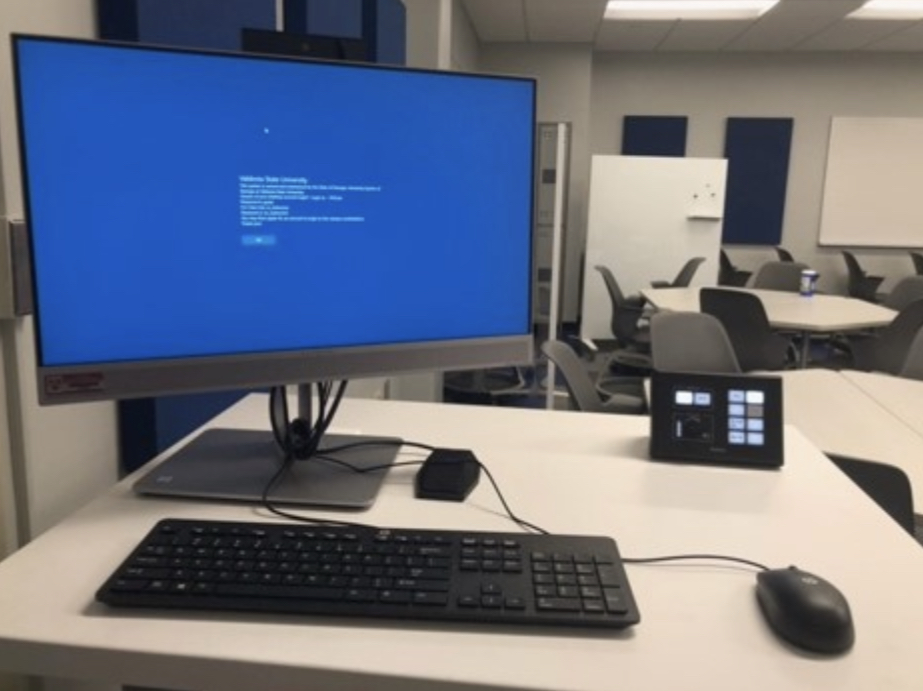
- An all-in-one computer with a built-in camera or an attached camera
- An audio/video unit controlled through a hardware device or a software application
- A projector and a drop-down projector screen
- A boundary microphone or podium microphone
- Boundary microphone can pick up audio in a 25-foot range.
- Can be used with web conferencing software such as Microsoft Teams and Collaborate Ultra.
- Extras, if needed: a document camera and DVD player.
 |
 |
Watch Video-Classroom Equipment Overview
Showcases AIO computer, Audio settings for Microsoft Teams, and Tips (Note: The system demonstrated is the Extron; not the XPanel as mentioned in video.)
Helpful Tips
- In-person student computers do not have microphones or cameras.
- You may need to manually rotate the computer screen to get desired camera angle.
- The boundary microphone is always on. A blue light indicates that it is functioning.
- Initial logins will prompt a one-time teams installation since the team's login is user-specific.
- If a shared PowerPoint has an embedded video, share the Desktop screen for best results.
Sound Settings
Typically, you should not need to change the sound settings; but if you do, here’s how:
- In Windows search bar, type audio.
- Select Audio settings
- Click on Sound settings
- Select Output device: ExtronScalerD
- Select input device: Microphone (USB audio CODEC)
In Microsoft Teams:
- Click your Profile (in upper right corner)
- Click Settings > Click Devices
- Speaker: ExtronScalerD
- Microphone: Microphone (USB audio CODEC)
- When sharing your screen in Microsoft Teams, select 'Include System Audio' if prompted.
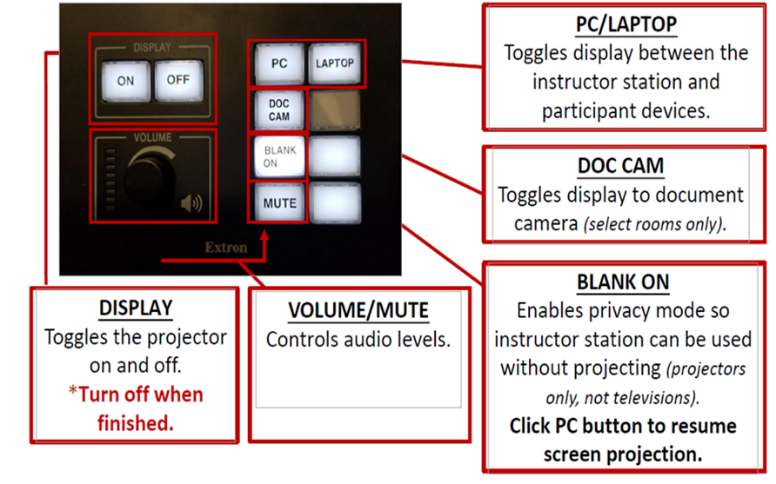
BLACK BOX HARDWARE
In some classrooms, there is a physical black box mounted on the presenter's desk that controls the installed A/V unit known as the Extron system.
*Remember to turn off A/V unit when finished and log out of computer.
SOFTWARE
XPanel is a software that is used to control the A/V unit known as Crestron. Similarly to the other units, it controls the projector and allows you to switch between input devices (PC, laptop or other devices when available), adjusts or mute audio and enable privacy mode.
To access the XPanel software, once logged in to the computer, click the tri-colored XPanel icon to power on system.
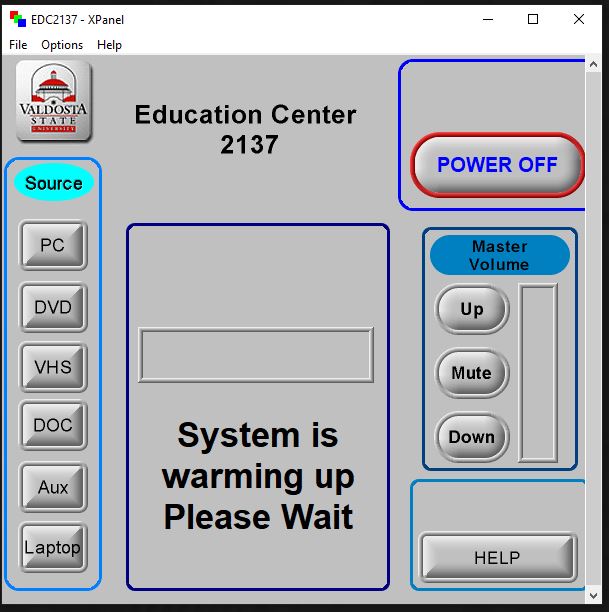
*Remember to turn off A/V unit when finished and log out of computer.
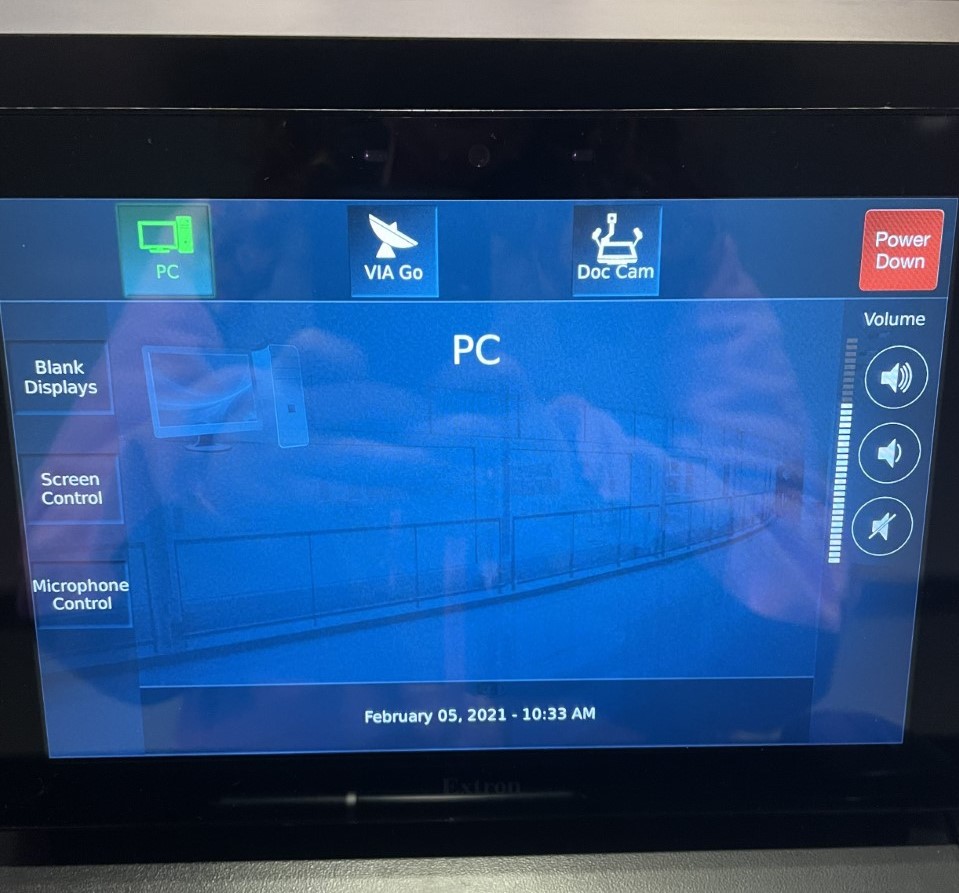
TOUCHSCREEN
The touchscreen is undermounted into the physical desk of the presenter workstation and controls the A/V unit known as Crestron. Press down on the flat panel on top of the desk to display the touchscreen.
Read Crestron Touchscreen Guide | Summary
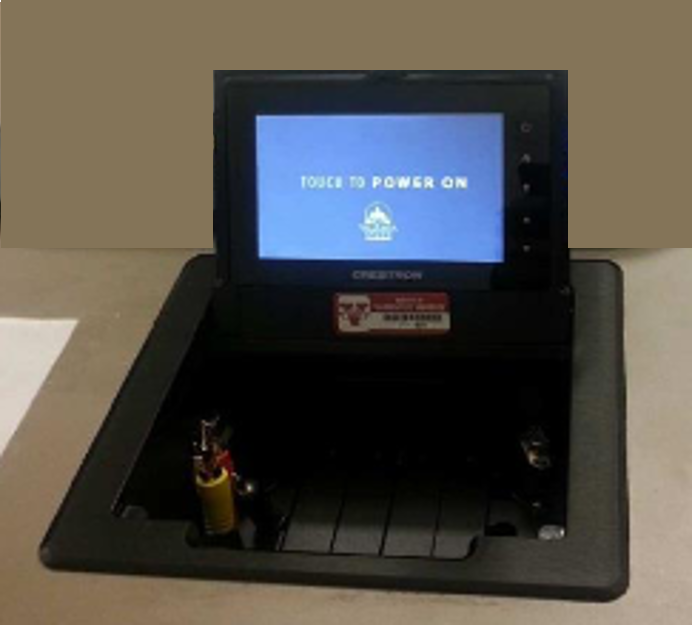
*Remember to turn off A/V unit when finished and log out of computer.
WIRELESS
Where available, the Kramer VIA system allows you to wirelessly connect your personal devices such as iPhones, Androids, and laptops to the Extron A/V system. For convenience, you can install the Kramer VIA Mobile App that is available at Google Play and the Windows Store or use AirPlay for iOS devices. *Read Kramer Notes
Some key features of the Kramer system inlcude:- BYOD Wireless Collaboration
- HDMI Input and HD Video Streaming
- Multi-Display Presentations and Dynamic Display Layout
- Team Collaboration and Notes
- When connecting to Kramer VIA, use the provided Room Name (ex: 0l1160mc.valdosta.edu). Do not use the IP address.
- When using iOS devices (i.e., iPads or iPhones), it is recommended that you use Apple AirPlay instead of the Kramer Via mobile app to connect. Otherwise, if you use the Kramer Via mobile app and need to minimize the app, your connection to Kramer may be lost.
- Not all Key Kramer Features may be available.
- Audio for Android devices may not be supported.
*Remember to turn off A/V unit when finished and log out of computer.
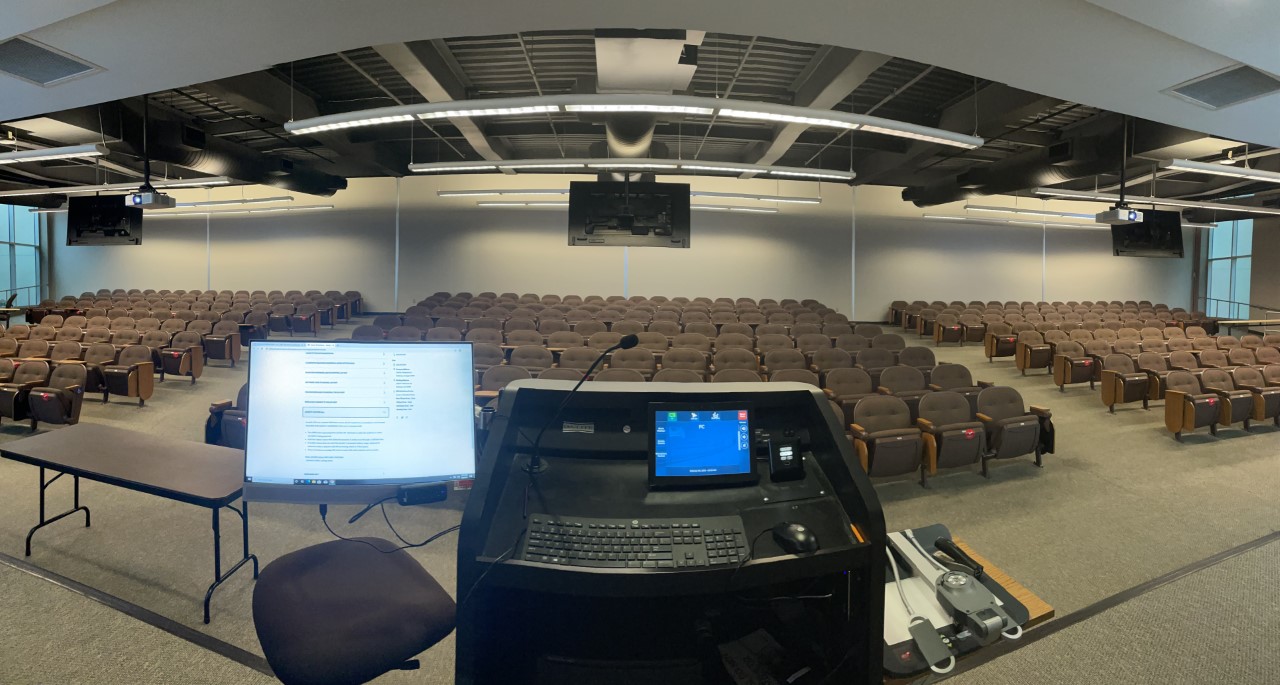
Although there are slight differences in the placement and technology installed in campus lecture halls and auditoriums, they all typically have the following equipment: projectors, cameras, viewing monitors, A/V touch panel, a lecture capture device, and possibly a document camera.
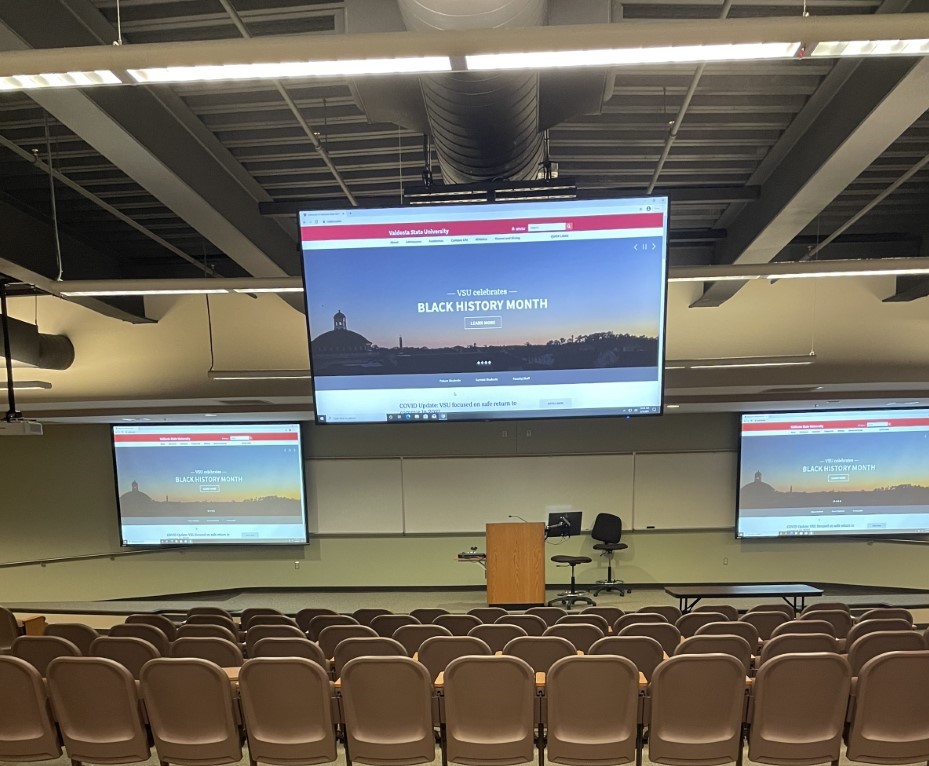
|
Two 6000 lumen laser projectors and three 89” televisions to allow the audience to clearly see what is being projected. |
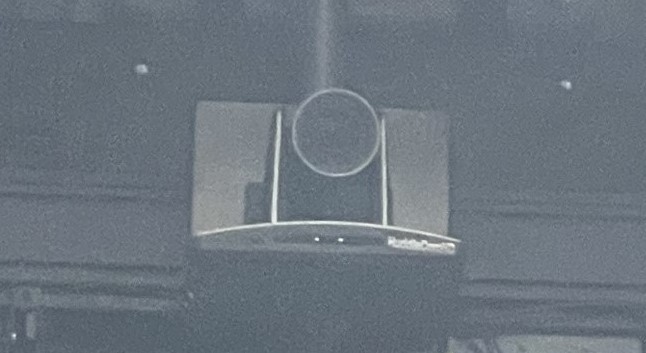
A huddle camera that can track the presenter’s movement while on stage; in addition to the stationary built-in webcam typically used during online or hi-flex classes. |
|
A touch panel mounted at the teacher’s workstation used to control the A/V equipment. |
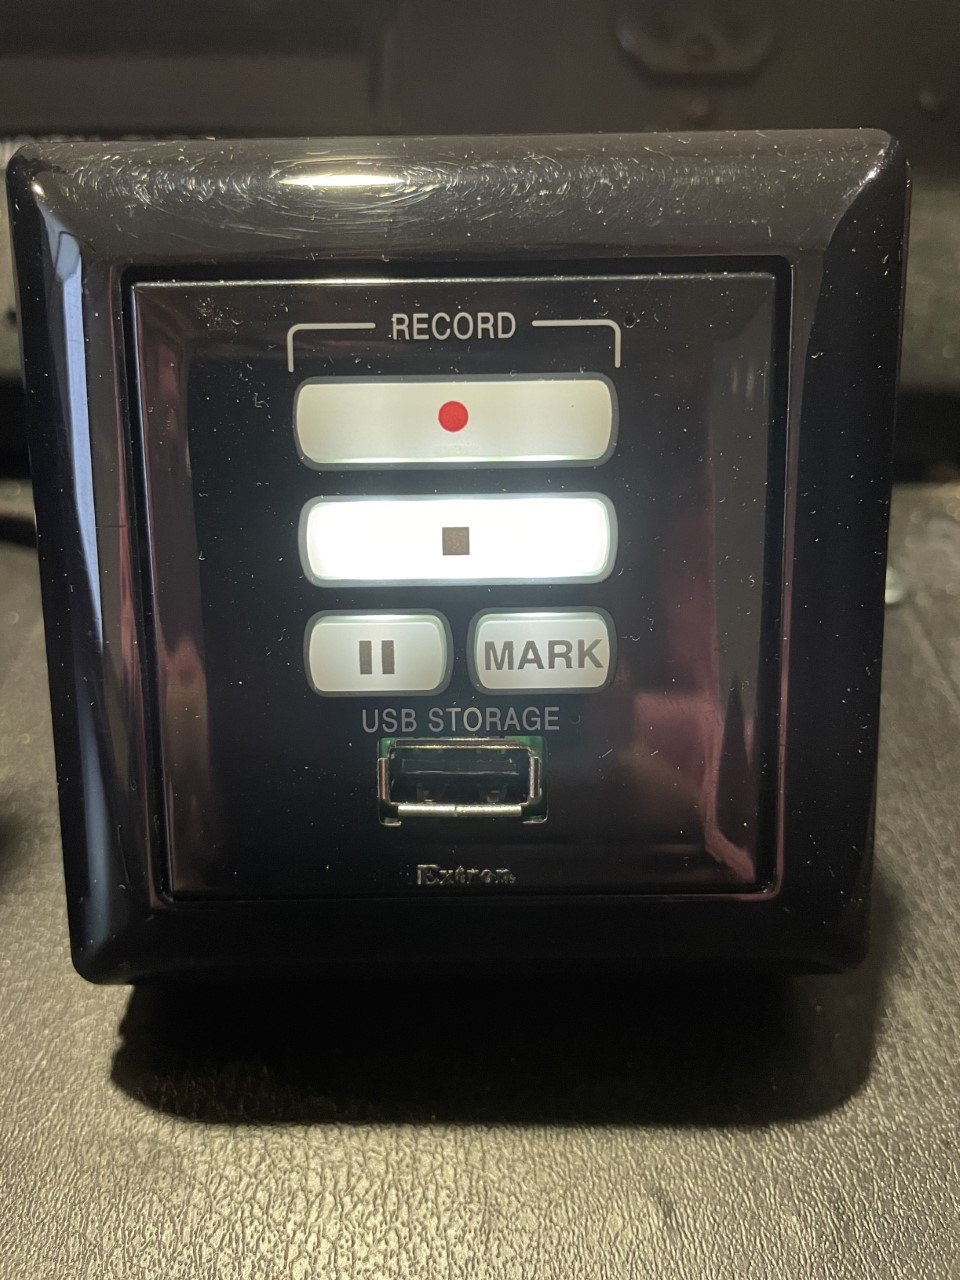
A lecture capture device that allows the presenter to easily record through a USB flash drive. |
Visit the Jennett Hall Technologies Page for more information.
- Submit a ticket through the web-based Technology Services Portal
- Tech Portal Login: solutions.valdosta.edu
- Call VSU Solutions Center at 229-245-4357
- When needed, an IT tech will be dispatched as quickly as possible.
Division of Information Technology
- 1500 N. Patterson St. Valdosta, Georgia 31698
-
Mailing Address
1500 N. Patterson St.
Valdosta, GA 31698 - Solutions Center
- Phone: 229.245.4357
- Fax
- Fax: 229.245.4349
Sun: ClosedMon - Thurs: 8am to 6pmFri: 8am to 5pmSat: Closed